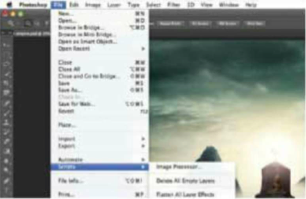
With the new automated options, you can now share the image stages much quicker than before. The Layer Comps panel in Photoshop is something of a hidden gem. This option might not be the most radical, but it will certainly improve the way your present your artwork and work with clients and other creatives. You can easily activate the feature by selecting the Window>Layer Comps menu.
The layer Comps panel effectively enables you to take snapshots of key phases of your production in your layered images. You can then save these as presets and play them back to art directors, clients and so on, at any time needed during your creative process.
this option is an advantage for many Photoshop creatives. If you’re a retoucher you can more easily present progression without having to filter through separate or flattened layers. Web designers can now show rollover states far quicker with this option. Layer Comps feature reduces many file saves as a mean to share alternate image states, ultimately freeing up memory storage on your desktop computer.
This is all well and good, but what if those you share with don’t have Photoshop CS6? Adobe has thought hard about this and provided a Layer Comps to PDF options too. This will automatically save a PDF file with all your layer comps now displayed as sequenced images.
Step 1 : Add a Layer Comp
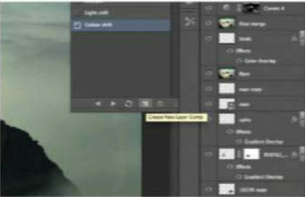
To add key stages of applications as layer comps, first make your changes then afterwards hit the Create new Layer Comp button (at the foot of Layer Comps panel). You can make further amendments, but make sure to select Update Layer Comp to make this stick.
Step 2 : Make Notes
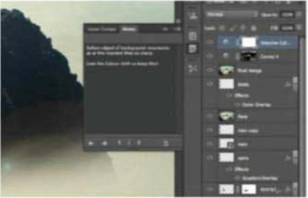
If you’re collaborating on an artwork and want to flag important changes, the Notes panel is helpfully paired with Layer Comps. Simply select the Notes tool (from the Eyedropper drop options in the Toolbar). Add to the image area you want to flag and type your suggestions.
Step 3 : Save to PDF
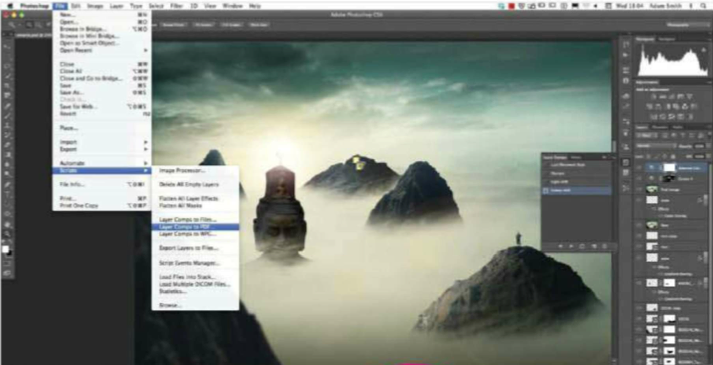
It can be a real problem if your client or intended recipient doesn’t have a version of Photoshop. Luckily Adobe has offered ways around this. Simply select File>Scripts>Layer Comps to PDF. Set a destination and save out, with your layers now grouped in a PDF file.

